These days, most of us take many meetings over video, whether we’re working from home or in a traditional office. While people usually take the time to make sure their outfits and backgrounds look work-appropriate, not everyone knows how to optimize their video set-up.
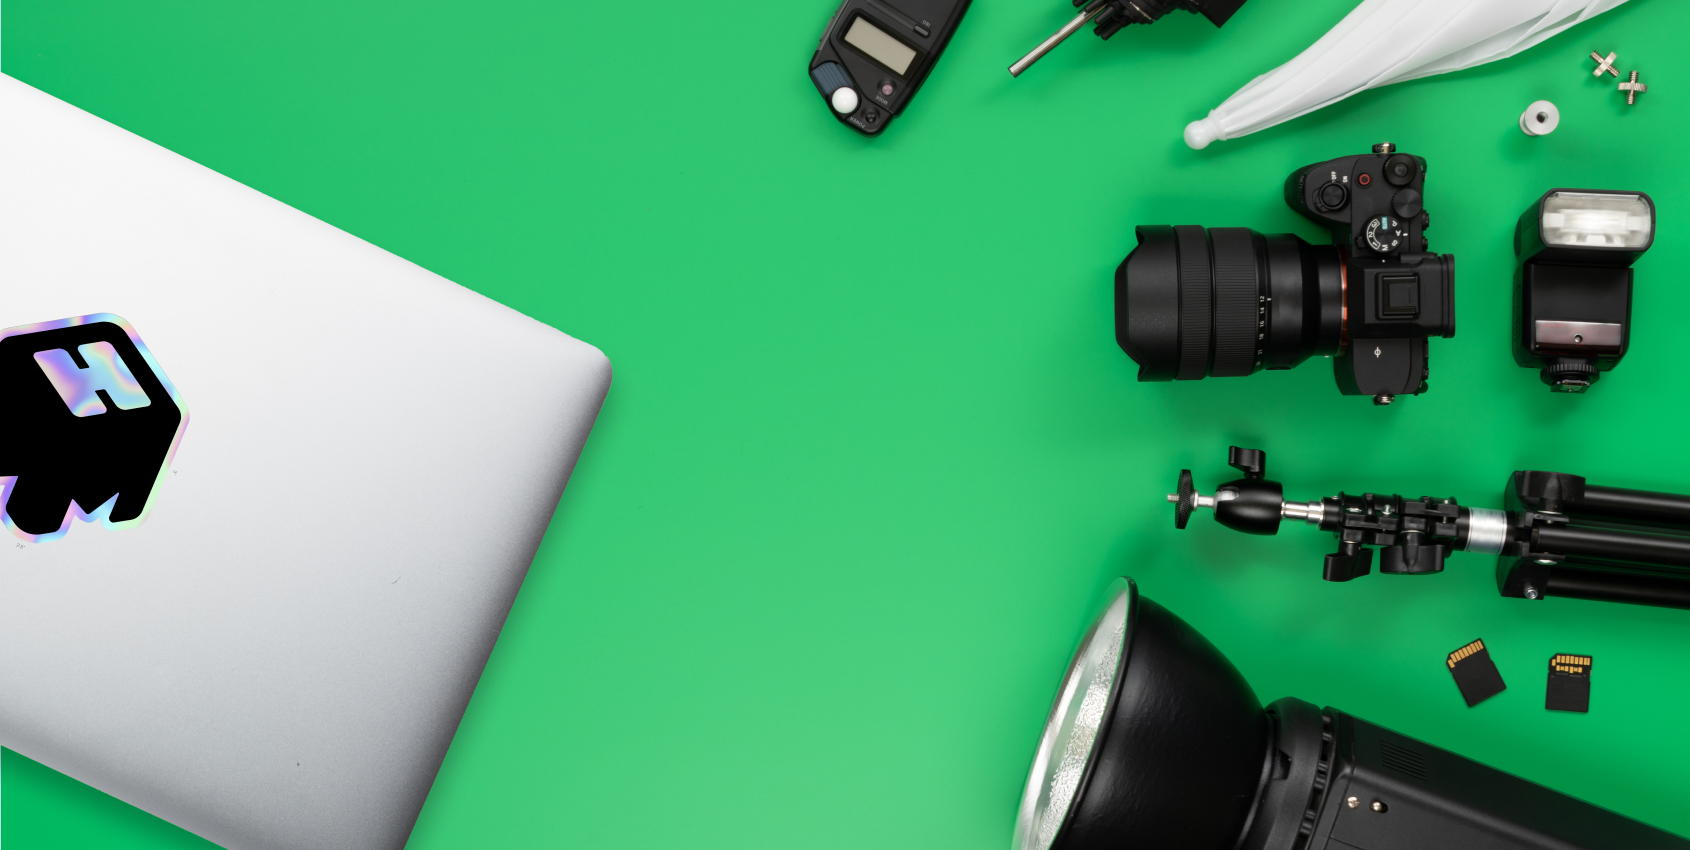
A few key pieces of equipment can enhance how professional you look when you’re on camera for video meetings. A green screen paired with good lighting can help you go from fuzzy and faded to crisp and clear—which is exactly the way you want to come across when you want to be persuasive.
Once you look great on camera, you can use mmhmm to share visuals on screen next to you so your audience never has to choose between looking at your face in a tiny box or looking at your slides full-screen.
Here are the essential techniques for properly lighting your green screen to ensure professional-looking work videos that captivate your audience and convey your message effectively.
Why lighting is important for green screens
Green screens work best when properly lit. Adequate lighting is essential for achieving clean separation between the subject and the green screen background. The more evenly lit your green screen is, the easier it will be for virtual cameras like mmhmm to remove the green color entirely. This process allows you to replace the green background with any image or video, elevating the overall look and feel of your work videos.

Set up your green screen studio
Designate a dedicated space as your green screen studio. If possible, choose a room with plenty of space and minimal ambient light so you can have plenty of control over the lighting conditions.
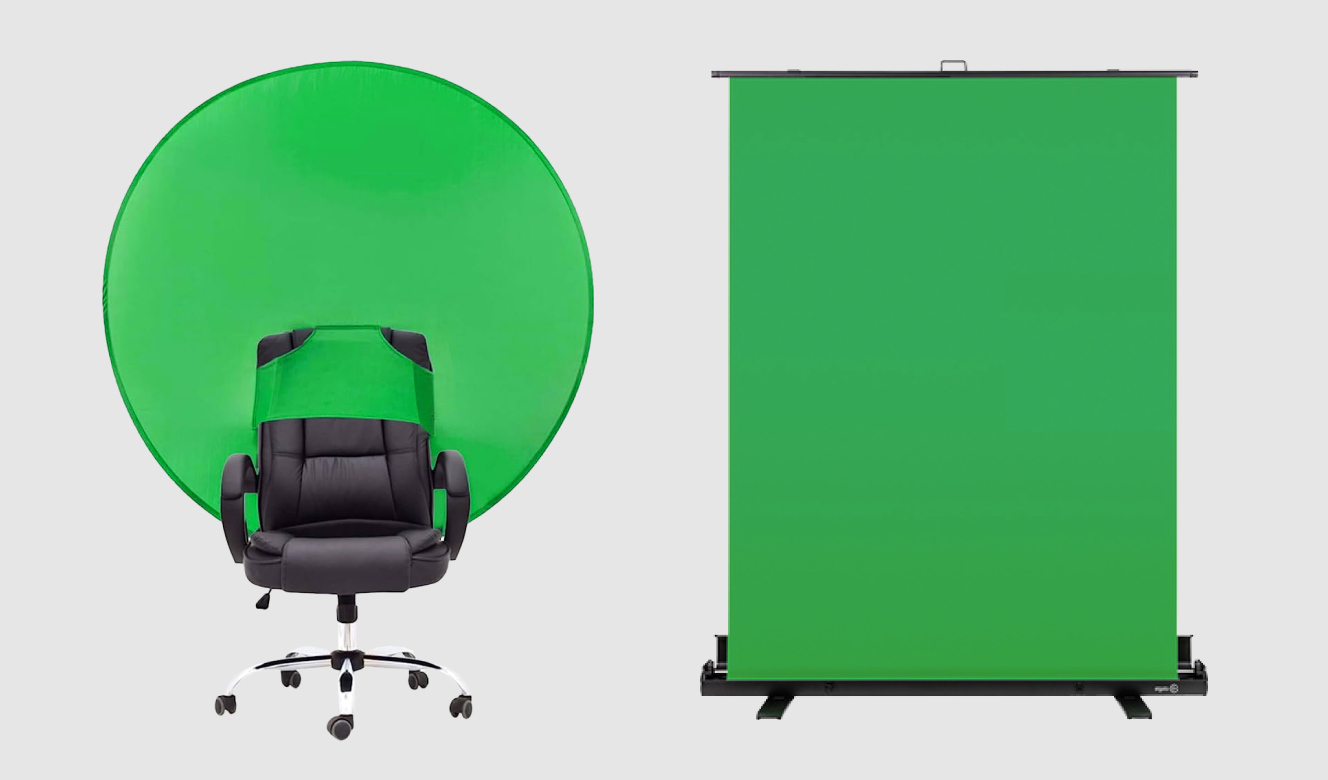
Selecting a green screen is up to you. If space is at a premium, try a pop-up screen that attaches to your chair. If you have a little more space and budget, you can try a large roll-up screen; some even pin a green sheet to their wall. No matter what type of screen you’re using, ensure that it’s properly stretched and free of wrinkles.
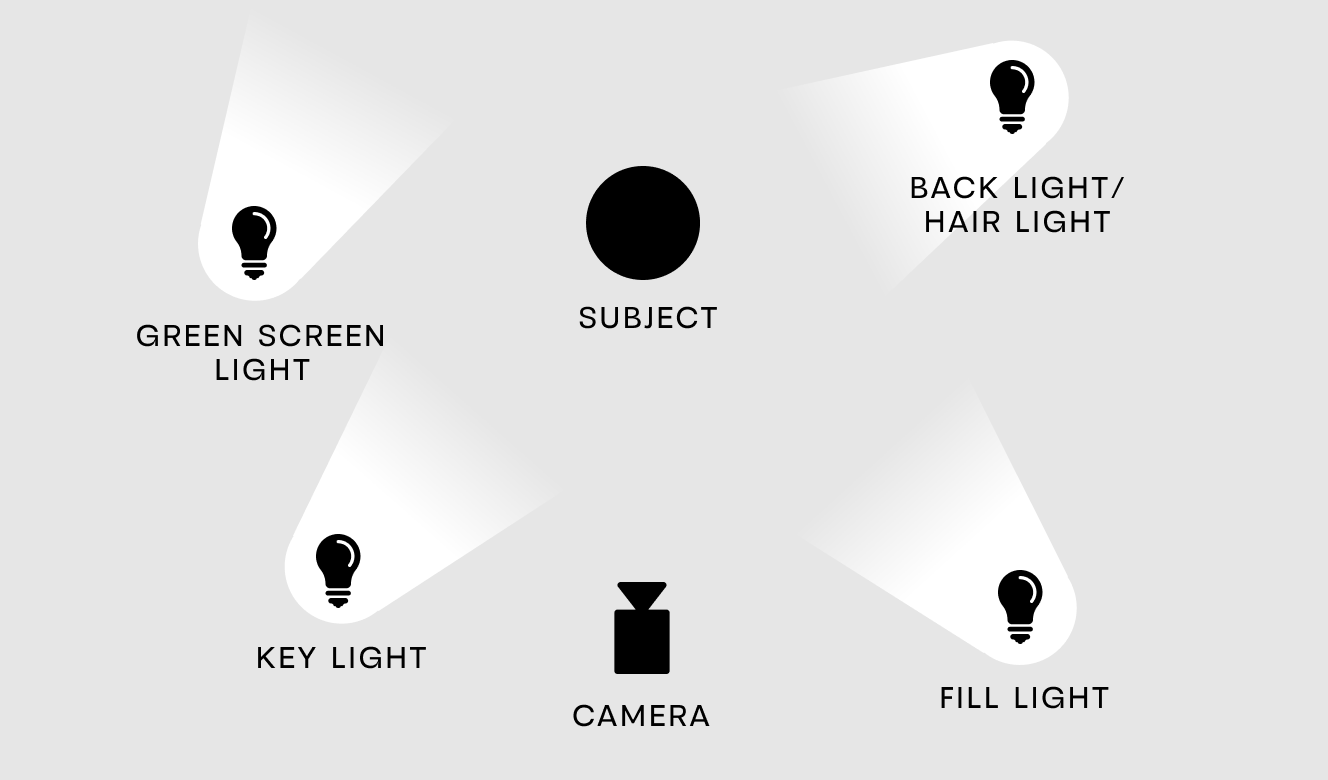
How to do three-point lighting
The three-point lighting technique is a fundamental setup that consists of three light sources: the key light, fill light, and backlight. This technique helps illuminate the speaker while providing separation from the green screen, an essential element for getting a clean silhouette around the speaker.
Key light: The key light acts as the primary light source and should be positioned at a 45-degree angle to the subject, slightly off to one side. By placing the key light behind the camera, you get natural-looking illumination on the speaker’s face.
Fill light: The fill light is placed 90 degrees from the key light to balance out the shadows created by the key light. It softens the contrast and provides even illumination across the speaker’s face. Consider using diffusers or dialing this light down to achieve a more diffused lighting effect.
Backlight: The backlight is positioned behind the speaker, aiming towards the back of their head or shoulders. This light source helps separate the speaker from the green screen, providing a sense of depth.
Other lighting considerations
In addition to the three-point lighting setup, you can consider a few more options to help optimize your green screen studio:
Light your green screen directly: To ensure an even and consistent green screen color, consider adding direct light pointed toward the green screen. Place lights aimed at the green screen from both sides, ensuring they are evenly distributed to avoid hotspots or shadows.
Lighting angles and placement: Experiment with different lighting angles and positions to create the best look and feel for your videos. By adjusting the placement of your light sources, you can manipulate the shadows and highlights on your subject, adding depth and dimension to the scene.
What if you don’t have a green screen?
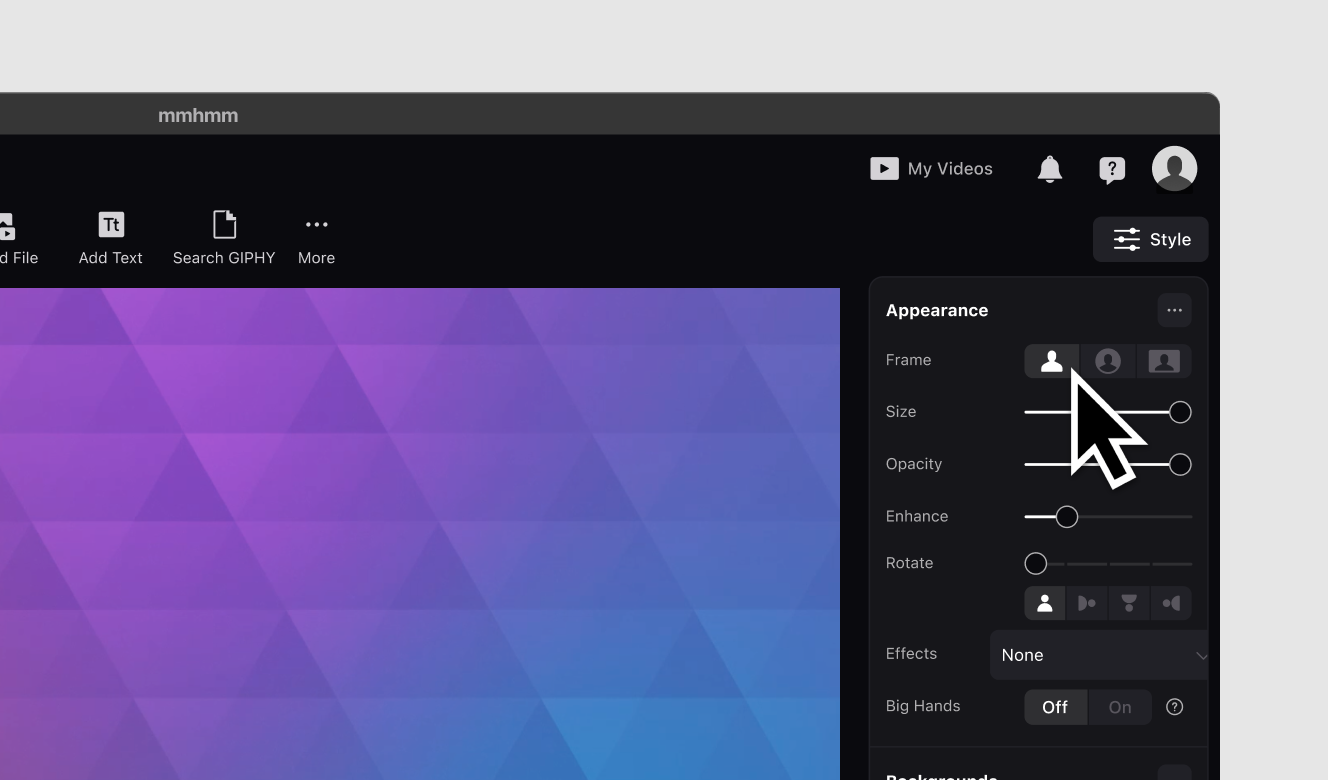
If you don’t own a green screen, don’t worry—with mmhmm, you can remove your background without a green screen by choosing the silhouette frame in the style panel. This virtual green screen feature analyzes your video feed to detect where to cut out your silhouette. While the effect is less crisp than you would get with a green screen, it lets you remove your background in any situation, making it ideal anytime you are away from your home studio.
Make your work videos shine with mmhmm
Once your green screen studio is perfectly lit, use mmhmm for Mac or Windows to amplify your video presentations on live meetings as well as recorded video. Choose from hundreds of backgrounds to match the tone and content you want to share. Create slides right in the app, or import a presentation from PowerPoint, Keynote, or a PDF. With a well-lit green screen station and mmhmm, your screen becomes a canvas for highlighting your best ideas and sharing your personality on video.


